Since I am already writing about Halloween dolls, I thought I would add another. This one I made for a gift last year and really enjoyed coming up with ideas for her. I was thinking of making one for myself this year. When I do, I'll show you the process. I will probably start around September.
Sunday, July 27, 2014
Witch doll
Since I am already writing about Halloween dolls, I thought I would add another. This one I made for a gift last year and really enjoyed coming up with ideas for her. I was thinking of making one for myself this year. When I do, I'll show you the process. I will probably start around September.
Since I am already writing about Halloween dolls, I thought I would add another. This one I made for a gift last year and really enjoyed coming up with ideas for her. I was thinking of making one for myself this year. When I do, I'll show you the process. I will probably start around September.

Saturday, July 26, 2014
Halloween cone doll
Here is an early Halloween doll project. These little witches are made using the cardboard cones that are in the skeins of Cotton yarn from the craft store. I used acrylic paints for the doll face and body and put in details such as the cat etc. The hair is done using fuzzy fibers which I glued on one end then covered the glued end with the hat. Once the hat was in place, I trimmed up the yarn to shape and fluff the hair. The hat is made with craft felt. If you have access to these types of cones it is a fun doll to make.

Here is an early Halloween doll project. These little witches are made using the cardboard cones that are in the skeins of Cotton yarn from the craft store. I used acrylic paints for the doll face and body and put in details such as the cat etc. The hair is done using fuzzy fibers which I glued on one end then covered the glued end with the hat. Once the hat was in place, I trimmed up the yarn to shape and fluff the hair. The hat is made with craft felt. If you have access to these types of cones it is a fun doll to make.
Wednesday, July 23, 2014

Tuesday, July 22, 2014
Last steps for the Board quilt
Well, I'm down the home stretch now. I made great progress yesterday. The quilting is completed and now I'm doing the binding. I cut 2 inch strips and sewed them down on one side, flipped the quilt and then sewed them on the back side using a decorative stitch. The corners were all mitered for a crisp look.
Tomorrow I will post the finished quilt
Well, I'm down the home stretch now. I made great progress yesterday. The quilting is completed and now I'm doing the binding. I cut 2 inch strips and sewed them down on one side, flipped the quilt and then sewed them on the back side using a decorative stitch. The corners were all mitered for a crisp look.
 |
| sewing down the binding |
 |
| Here is the stitch I used on the binding. I like loopy types so it catches both sides of the binding for a strong hold |
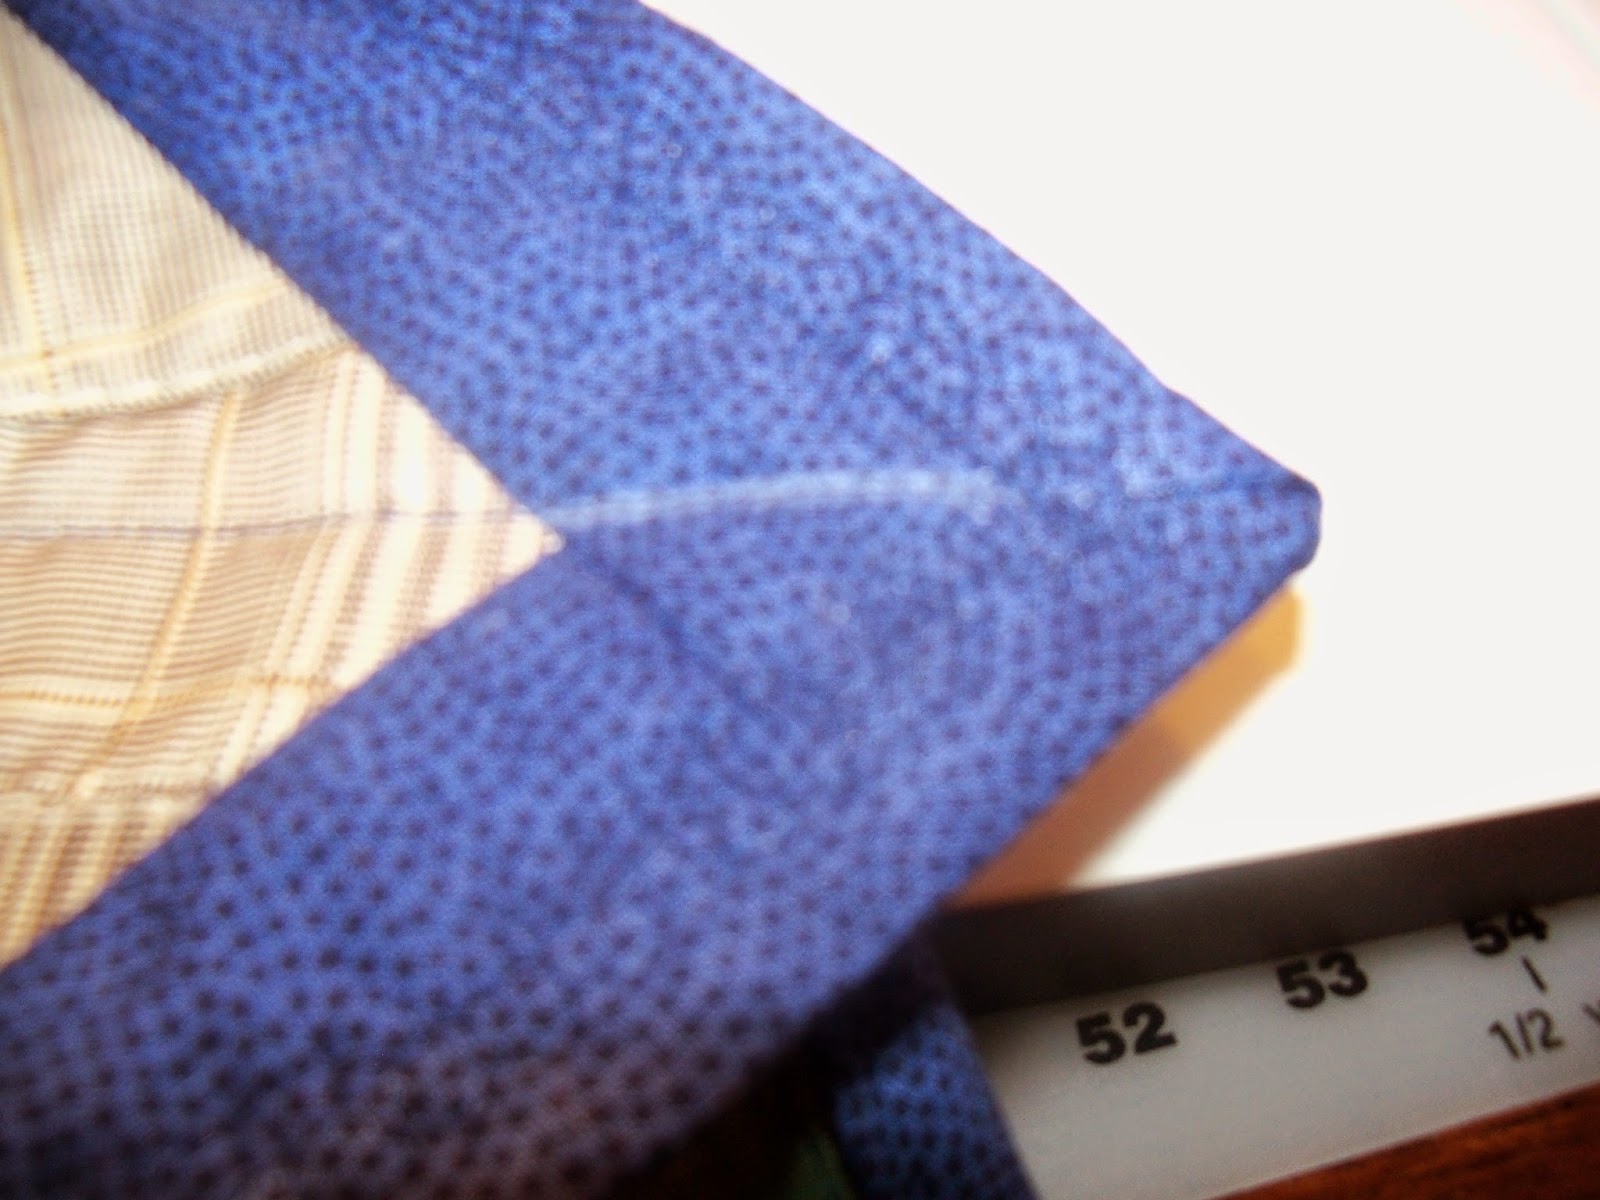 |
| Mitered corners |
Monday, July 21, 2014
Short Board quilt continued:
I had a busy weekend but was able to finish the columns for the top of the quilt plus, for this particular quilt some of the patches/logos needed to be transferred. Some of the logos were previously on pockets or waistbands so, they could not be used without removing them.
Today, I'm starting the layering process for quilting. Basting spray works great as it helps make for a smooth quilt top. It must be sprayed between all layers and everything is smoothed in place. Once the basting is done, I begin to draw temporary lines for quilting. I use a combination of tools depending on the fabric. For most fabric, a chalking pencil works great. I also like the blue ink pen that washes out when simply wiped with water. The goal today is to finish the basting and have the grid lines in place to start quilting. Overall, I hope to finish in a couple days
 |
| Patches sewn in place - the sashing is actually darker than this but the flash makes it look light |
 |
| Tools for grid lines |
 |
| Picture of the columns sewn in place |
 |
| Picture of the basting spray and the layers in place for spraying. |
Friday, July 18, 2014
Update on the Board Shorts Memory quilt
The quilt continues to progress. I completed a couple more steps. I fused each fabric square with a lightweight fusible interfacing. This gives the squares stability. I choose to do this because some of the materials have stretch to them, some have bias cuts etc. Having the interfacing on the fabric, in this quilt, will help with accurate quilting and help minimize any puckering issues later on. In this series of pictures, you see one of the squares which has bias pieces on them. I fused the back (middle picture) and you can see in the last shot that the puckering is reduced


The quilt continues to progress. I completed a couple more steps. I fused each fabric square with a lightweight fusible interfacing. This gives the squares stability. I choose to do this because some of the materials have stretch to them, some have bias cuts etc. Having the interfacing on the fabric, in this quilt, will help with accurate quilting and help minimize any puckering issues later on. In this series of pictures, you see one of the squares which has bias pieces on them. I fused the back (middle picture) and you can see in the last shot that the puckering is reduced
 |
| hand selfie |
After all the squares were fused, I cut the strips for the sashing which goes around each piece. The sashing measures 1 3/4 inch wide. I then sewed all of the rows together. The next step will be to iron the pieces flat and then add the column sashing. By the next posting, I will have all that done plus, I'll be preshrinking the backing fabric so I can start stacking the layers for quilting.
Yesterday, when I was at the fabric store getting the backing fabric, I got into a conversation with the store clerk about hand dying your own batik fabrics. She explained a little about the process and the wonderful results you can get at home. I'm really tempted to try that but, I had to drag myself away because the last thing I need right now is another craft. Who knows though .... maybe someday.
Thursday, July 17, 2014
Board short memory quilt continued:
I'm moving along steadily on the Board shorts memory quilt. I deconstructed the garments first and removed zippers, heavy seams, pockets etc. This can be a traumatic phase when you are emotionally connected to the garments! Once I completed this "rough cut", I began to cut my squares. The see through ruler comes in extremely handy because you want to make "fussy" cuts for this type of quilt. The goal is to get the most interesting part of the garment on the square.
I'm moving along steadily on the Board shorts memory quilt. I deconstructed the garments first and removed zippers, heavy seams, pockets etc. This can be a traumatic phase when you are emotionally connected to the garments! Once I completed this "rough cut", I began to cut my squares. The see through ruler comes in extremely handy because you want to make "fussy" cuts for this type of quilt. The goal is to get the most interesting part of the garment on the square.
 |
| Pile of waistbands, zippers etc |
 |
| Using see through ruler to make interesting cuts
I made 10 inch squares. Once the squares were cut, I laid them out to see what type of order looked pleasing. I actually ran out of room on the bed but, I'm going to have one more row than you see in the picture. Once all the seaming is done, it gets a little smaller but, I will be adding sashing between each square. I'm ready for the next step now so tune in tomorrow to see it continue to come together.
 |
Wednesday, July 16, 2014
Board shorts quilt
I'll be working on an exciting new project. This is similar to a T-shirt quilt but, its with board shorts instead of t-shirts. The shorts come from a guy from Hawaii and he saved them through the years. His finance wanted to make him a quilt out of them for a wedding present. To start with, I bought the supplies (except for the backing which will come later). Here is what I have
1) Board shorts
2) Fusible interfacing to back the short material and make them stable for sewing
3) Thread
4) Sashing material to go between the cut short squares
5) Batting
6) Temporary basting spray for quilting
The machine will use a quilting needle plus, I will be using a rotary cutter and cutting rules for accurate cuts
Here is a picture of the supplies needed and the pile of shorts. Wish me luck!! I'll post pictures as I progress
Tuesday, July 15, 2014
Artist Trading Cards
I probably need to call my blog Deb's dolls, quilts etc etc because today, I'm posting about drawing. I've been very involved with trading artist cards on line and really enjoy it. I've received some beautiful work. Today, I was in the mood to work with charcoal which is probably one of my favorite mediums. I've worked with it on and off for years. I did a couple of faces and a zentangle. Here is what I've done today.


 The baby one is inspired by my Grandson. I drew it from a picture of my daughter holding him.
I did actually work some housework in also so, it's been a busy and enjoyable day.
I probably need to call my blog Deb's dolls, quilts etc etc because today, I'm posting about drawing. I've been very involved with trading artist cards on line and really enjoy it. I've received some beautiful work. Today, I was in the mood to work with charcoal which is probably one of my favorite mediums. I've worked with it on and off for years. I did a couple of faces and a zentangle. Here is what I've done today.
I did actually work some housework in also so, it's been a busy and enjoyable day.
Monday, July 14, 2014
Watermelon Dotee Doll and Classical Music Dotee Doll
I finished my Dotee dolls for the swap I have coming up. I made them basically the same as the first two dolls except for the hair. On these, I used felting wool and cut off a strip that goes from one side of the end to the other. I felted it in the middle first for the part, braided the hair, then felted the braid into place along the face line. These are themed dolls so one is for watermelons and the second is for classical music. Have fun trying a Dotee doll for yourself. You can do all kinds of creative things with them.

I finished my Dotee dolls for the swap I have coming up. I made them basically the same as the first two dolls except for the hair. On these, I used felting wool and cut off a strip that goes from one side of the end to the other. I felted it in the middle first for the part, braided the hair, then felted the braid into place along the face line. These are themed dolls so one is for watermelons and the second is for classical music. Have fun trying a Dotee doll for yourself. You can do all kinds of creative things with them.
Sunday, July 13, 2014
Doll stuffing tip
I'll be working on some Dotee dolls for trading. I'll post a picture when I'm done. I'm a member of swap-bot which is a swapping community for Artist cards, post cards, recipes, Dotee dolls and a lot more. I've got a couple of doll swaps coming up this month.
One thing that really helps me when working with stuffing small areas is using a hemostat. I got this at a local pharmacy and they don't cost much. You can also get them on line. I like the locking feature which I use on occasion almost as a third hand. The tool works great especially when your fingers are just to bulky for stuffing or, for getting the stuffing into corners.
Here is a picture of mine so you can see what they look like.
Saturday, July 12, 2014
Paper Crafting Cigar box with faux leather design
Years ago, my sister Terry taught me how to take a plain brown paper bag and treat it so it looked like leather. She did a wall in this design and I did a desk top. It's really cool plus, I love the feel of it.
I ran across a garage sale last weekend and this guy was selling cigar boxes for .25 cents each. I'm always looking for ways to organize things in my house so, I decided to try the faux leather on a cigar box.
To do this, you crinkle up wads of brown paper and tear them into small pieces (about 1-3 inches). They should be torn randomly in different sizes and shapes. Then you start gluing them on. I used decoupage glue. When all the pieces are in place and dry, you begin to place a stain on it. I just played around with it using paste type shoe polish and my stamping inks. Once the color is in place, I sealed it all again using decoupage. The inside is lined with brown felt. It's a fun project and a great money saver for storage items if you can get a cigar box. Actually any type of wooden box would work the same.


I want to find some type of latch for it then, I will call it complete. I'll probably use it for the bit and pieces I've collected for paper collages.
Years ago, my sister Terry taught me how to take a plain brown paper bag and treat it so it looked like leather. She did a wall in this design and I did a desk top. It's really cool plus, I love the feel of it.
I ran across a garage sale last weekend and this guy was selling cigar boxes for .25 cents each. I'm always looking for ways to organize things in my house so, I decided to try the faux leather on a cigar box.
To do this, you crinkle up wads of brown paper and tear them into small pieces (about 1-3 inches). They should be torn randomly in different sizes and shapes. Then you start gluing them on. I used decoupage glue. When all the pieces are in place and dry, you begin to place a stain on it. I just played around with it using paste type shoe polish and my stamping inks. Once the color is in place, I sealed it all again using decoupage. The inside is lined with brown felt. It's a fun project and a great money saver for storage items if you can get a cigar box. Actually any type of wooden box would work the same.
I want to find some type of latch for it then, I will call it complete. I'll probably use it for the bit and pieces I've collected for paper collages.
Friday, July 11, 2014
Did you ever start a project and just lose your desire to finish it? This is how I felt about this quilt. I wanted a quilt where I could use my scraps and this seemed the perfect choice. The problem for me personally is that I really disliked cutting the triangle pieces and it was all very labor extensive. I was feeling that the labor involved was not going to be worth the end result. I finally decided to bite the bullet and just turn it into a pillow. At least I get the advantage of using the pieces I already had sewn plus, now I have a pillow instead of a partially finished quilt that probably would have sat in the drawer for years. I actually feel a sense of relief.
I feel like the bottom line is that crafting should be fun and when it feels like work, I need to go to plan B.


The top one is the partially finished quilt and the bottom is the pillow. I put piecing on both sides of the pillow so, it looks the same on the front and back.
I feel like the bottom line is that crafting should be fun and when it feels like work, I need to go to plan B.
The top one is the partially finished quilt and the bottom is the pillow. I put piecing on both sides of the pillow so, it looks the same on the front and back.
Thursday, July 10, 2014
Black and White Quilt
Since my blog is called Deb's dolls and quilts, I thought I would post the latest quilt I'm working on. It's a black and white large lap quilt with machine embroidery "black work" squares. I got to this stage and decided it needed another column but, that would throw the design out of balance so, I still have to figure that out. I wanted to add an interesting border also

 On the embroidery work, this is just one of the designs. There are actually 6 different ones. Wish me luck figuring out the final stages of this quilt. I'm excited about it because I really like the machine embroidery work.
Since my blog is called Deb's dolls and quilts, I thought I would post the latest quilt I'm working on. It's a black and white large lap quilt with machine embroidery "black work" squares. I got to this stage and decided it needed another column but, that would throw the design out of balance so, I still have to figure that out. I wanted to add an interesting border also
Wednesday, July 9, 2014
Today I worked on an idea I had for a Pumpkin Dotee doll. Here is the result:

Here are some instructions if you would like to try one yourself.
1) Prepare fabric for face by cutting a piece of muslin fabric and then painting it with Gesso. This will give the fabric a nice surface for the markers.
 Let the fabric completely dry. While it's drying though, you can work on the body. Below is a page of patterns I used. The top two are for the dolls on yesterdays post. The difference between the two is one has a flat bottom and the other one has a curved bottom. I think I generally prefer the curved one but that just a personal preference. For the pumpkin doll. I wanted a round body that looked like a pumpkin so, I used the bottom body fabric. Cut two of these. There is already a 1/4 inch seam allowance included in the pattern. Leave an opening at the top and sew right sides together, turn it, stuff it and slip stitch it closed. It should look like this now:
 The fun part begins now so, just use your creative imagination. I used embroidery thread to simulate the lines of a pumpkin, I added some leaf like fiber around the neck and some small maple leaves. The fiber and leaves are attached by hot glue. Now, we are ready for the face.
Face:
 Cut a circle in the dried muslin. It should be about 1 inch in diameter or slightly bigger. I just used the bottom of a thread spool and traced around it. Cut out the circle and lightly pencil in the features of the face.
Once you are happy with the face, trace over the features with a fine black tip permanent marker pen. I used a Micron pen with an 03 tip.
Color in the features using Copic markers. Other types of markers should be fine but test it first some scrap fabric. Any type of marker that can blend should work great. I put a tiny touch of blue on the eye lid, dark pink on the lips, light pink on the cheeks and flesh colors over the whole face. Once it dried, I just hot glued it in place.

The finishing touches were a little green hat and buttons for the hanging "tail" which is a typical feature for Dotee Dolls.
Enjoy and let your creative juices flow!
Patterns:

Here are some instructions if you would like to try one yourself.
1) Prepare fabric for face by cutting a piece of muslin fabric and then painting it with Gesso. This will give the fabric a nice surface for the markers.
The fun part begins now so, just use your creative imagination. I used embroidery thread to simulate the lines of a pumpkin, I added some leaf like fiber around the neck and some small maple leaves. The fiber and leaves are attached by hot glue. Now, we are ready for the face. Face:
Cut a circle in the dried muslin. It should be about 1 inch in diameter or slightly bigger. I just used the bottom of a thread spool and traced around it. Cut out the circle and lightly pencil in the features of the face. Once you are happy with the face, trace over the features with a fine black tip permanent marker pen. I used a Micron pen with an 03 tip.
Color in the features using Copic markers. Other types of markers should be fine but test it first some scrap fabric. Any type of marker that can blend should work great. I put a tiny touch of blue on the eye lid, dark pink on the lips, light pink on the cheeks and flesh colors over the whole face. Once it dried, I just hot glued it in place.
The finishing touches were a little green hat and buttons for the hanging "tail" which is a typical feature for Dotee Dolls.
Enjoy and let your creative juices flow!
Patterns:
Tuesday, July 8, 2014
Well, I finally did it. I wanted to create a blog so I could interact with fellow crafters. I would like to share what I'm doing and hopefully hear your feedback on what you are working on. I love so many different types of crafts that sometimes I have to force myself to work on my current project without getting distracted by the cute things I want to try next. On a daily basis I have the feeling of so many crafts to do but not enough time!
My current "hot" crafting items are ATC's (Artist Trading Cards). I have joined a couple of sites and love exchanging cards with other artists. In this craft, you create art that fits on a 2 1/2 by 3 1/2 sheet of cardstock, cardboard to chip board types of materials. I personally do a lot of paper collage but, I'm working on improving my skills at watercoloring painting. I'll have to post some more on that later.
As far as dolls and quilts, I recently learned about Dotee dolls. These are similiar to Artist Trading Cards in that they are small dolls made for swapping and not selling. The are about 4-6 inches in length with a very basic box type body and no arms and legs. Here are the first two I created
The first one reminds me of a lady going to a tea party. I have them both hanging from a lamp in my craft room and they make me smile when I look at them. I already have ideas for the next batch and will be posting those. I'll include my basic body pattern plus steps on how I did the faces.
Subscribe to:
Posts (Atom)