Saturday, November 29, 2014

Christmas Gift Tags

I hope everyone had a nice Thanksgiving.  I had a wonderful one with family and lots of yummy food.  I'm now ready to gear up for Christmas!  I've already bought a few presents so, I'm making some gift tags today.  They are not to fancy since they usually just get tossed out with the wrapping but, I think they do show the little extra effort you made to make the package pretty.  On these, I simply stamped and colored the front of gift tags.  I bought the tags in a pack at the craft store.  The back side is also stamped with a holiday wish.  So, pull out your stamps and have some fun!!

Stamped and colored gift tags

Sunday, November 23, 2014

Quilted Gift Tag (Continued)

I finished up the quilted gift tags.  These will be used as decorations/bows for Christmas presents.  In my last posting, I showed how I cut one inch strips and sewed them together.  Since that posting, I made a template of a Christmas tree.  I put together 3 layers of fabric (sewn strip pieces, red flannel and solid green on the back.  I traced the template onto the fabric, sewed the Christmas tree shape then trimmed it with pinking shears.  I used a needle with a large eye and put a hanger through it.

I played around with a couple of ideas to make it fancier.  In one, I layered  a sheer fabric on top (tulle) and put beads in the middle similar to a shaker box.  In another one, I sewed in some seed beads for ornaments.  You could also easily sew in pretty ribbons or use the decorative stitching feature of your machine for a crazy quilt effect.

I hope you give this a try.  I bet you may have some fabric in your stash to start anytime!

Happy Quilting

Tree template

3 layers of fabric

Side view of the fabric "sandwich"

Trace template onto fabric with a water soluble pen or quilters chalk

Finished tags

Saturday, November 22, 2014

Santa Doll Complete (Well maybe)

I have the Santa doll done but I keep thinking something else is needed so, if I can figure out what that is, I will add it.  One the clothes, I used the basic elf pattern however, I increased the length of the top by 1 inch and the length of the pants by 4 inches.  I used decorative feather trim around the hat, the sleeves and the bottom of the pants.  I added glasses, a jingle bell on the hat and various layers of decorative trims down the front.  For the boot, I used a boot shape side and a bottom sole.


Santa hat (wrong sides together)

Santa shirt before sleeves added


Now, I'm already onto the next project.  I'm making some decorative quilted gift tags.  These will be in the shape of a tree.  To start with, I picked out 3 different kinds of green flannel.  I cut them into 1 inch strips (about 10 inches long).  I'm sewing together the strips using a 1/4 inch seam allowance.  I ironed the piece after all the strips were sewn together.  The next step will be to make a simple tree template.  My vision is to decorate the fabric up like a crazy quilt then sew together a front and back with a hanger.  More to come on that!

3 different green flannels

1 inch strips

Picture with about 2/3 of the strips sewn on


Wednesday, November 19, 2014

Twelve Days of Christmas Artist Trading Cards

I'm having an early Christmas.  I got the set of Rubber Stamps from TJDesigns by TweetyJill.  I have a set of her Halloween stamps and they make wonderful images so, I'm excited to start playing with these.

I also have a couple of their books and if you are interested in Rubber Stamping on Artist Trading cards, this is a must have item.  It is full of wonderful ideas that you can use with your existing stamp collection.  It's on Amazon.com for sale.

I'll post some once I get creating!


Here is a link to her website too:
www.tweetyjill.com
Santa Body completed!

Here is where I am on the Santa doll.  The body is completed and so is the head. so,  You may have noticed that when I was originally cutting out the pattern, his hands were from a black velvet material.  That did not work well at all.  I could not get the fingers to turn on that thicker material so, I switched to a cotton.  His fingers have wire in them so, each one can be placed however you want it.  I found this to be very handy when I did the elf because when I set him in the sleigh, his fingers wrap nicely around the reins.

I am concerned that he looks very "Elf like" still but, I'm hoping once the beard is on, it will all work.  More to come!!


Tuesday, November 18, 2014

Santa Doll Update and ATC Swap

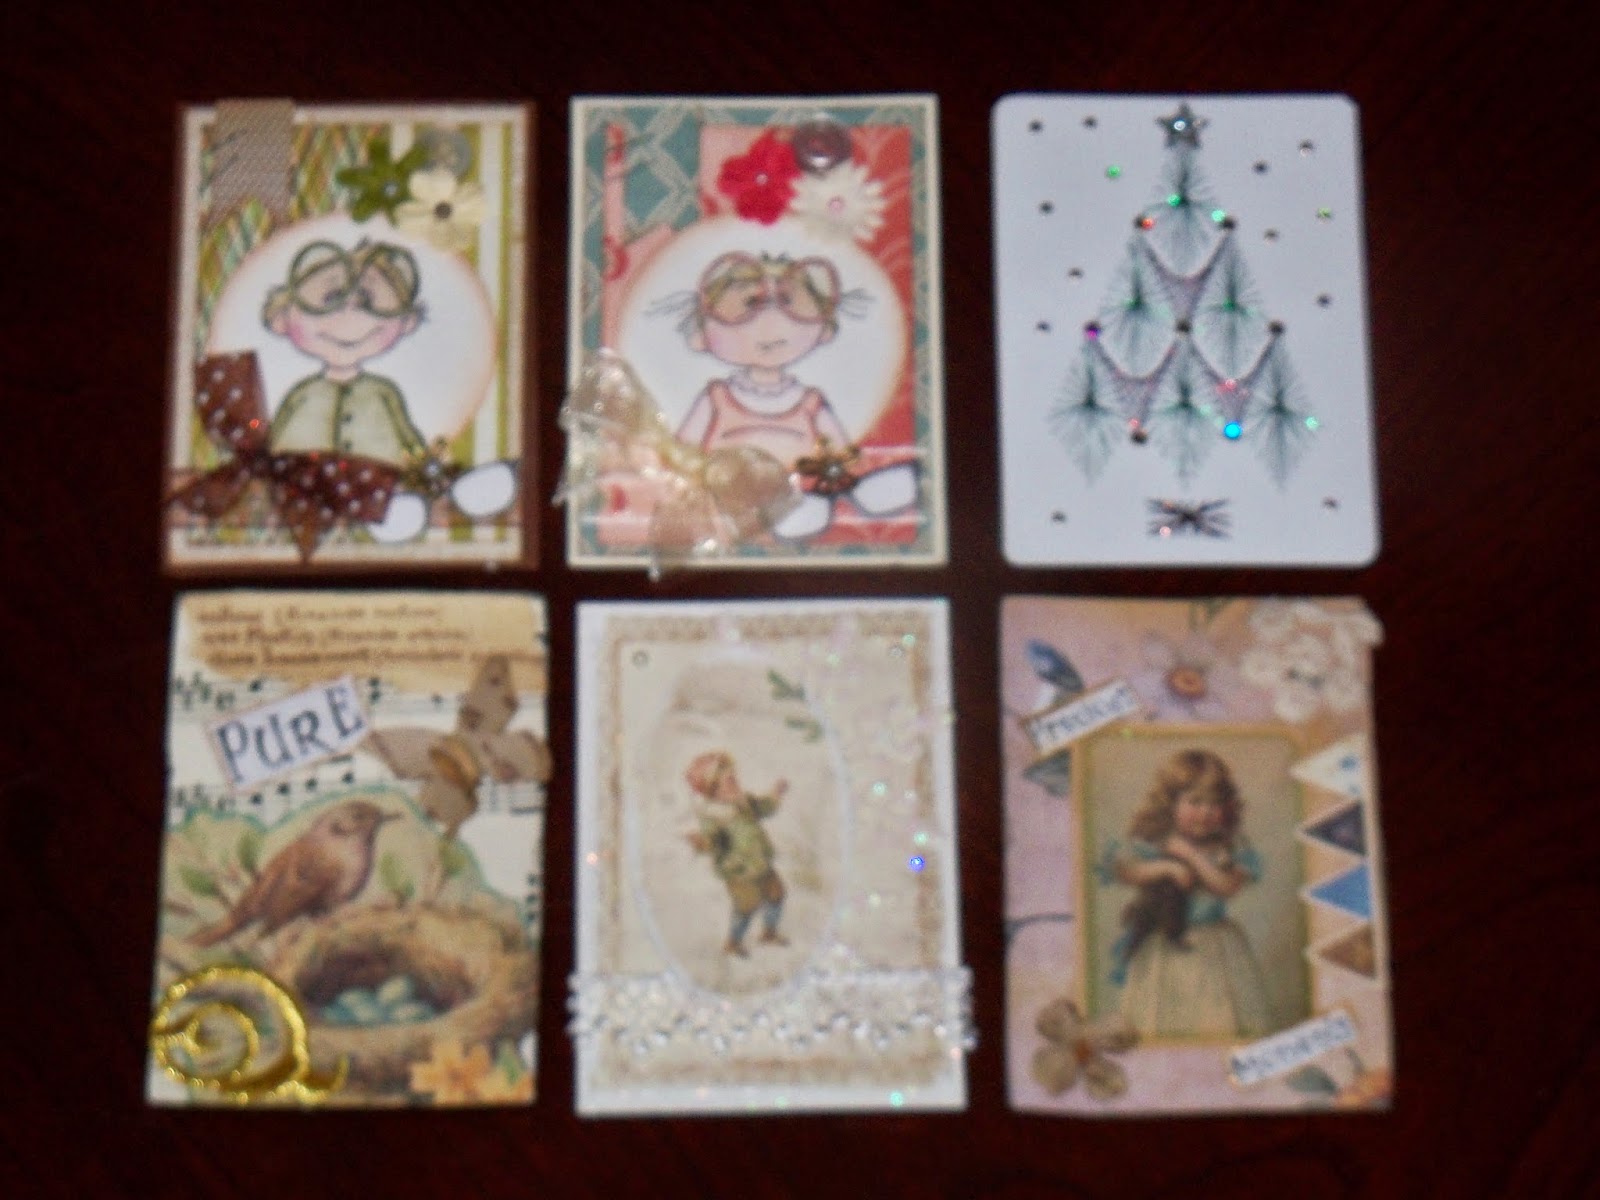
I've made a little progress on the doll.  The body pieces are sewn and stuffed and now, I'm closing the stuffing openings.  I hope to have the body complete by today and the facial features at least started, if not complete.  I got side tracked a little this weekend with drawing.  I enjoy it and find that the more I do, I get a little better.  One of the groups I'm in is hosting a Victorian Circus Artist Trading card swap.  I like Victorian things so, after some thought and I pulled together ideas from various inspirations and came up with this:


In this swap, you have to make a minimum of 3 cards so, I'm working on the others.  It's actually a little easier working on the second and third cards because the idea part is already completed.  It can get boring though too.  Hopefully whoever ends up with my cards in the swap will like it.

Saturday, November 15, 2014

Santa body sewing

I started sewing together the body for the Santa Doll.  Except for the modifications on the head and ears, I followed all the pattern directions.  I do have 3 tips for working with soft dolls like this

1)  Use a short sewing stitch.  I used 2.0 except for the hands which I dropped down even further to 1.5

2)  Use fray check on all head, hand and feet seams.  It's worth the extra time and expense

3)  When making tight turns such as around each finger or around the nose and mouth, it sometimes can be hard to see where you need to turn depending on what your sewing foot looks like.  When I got to the hands, I switched to the darning foot. This really helped me see better for accurate sewing.

Sewn pieces ready for fray check.  The fray check can be watery so, I put something under it that I toss out once everything is dried.

Regular foot on the right and the darning foot I used for the hands on the left


I did find some pictures of the elf that I made last year so, I put them here.  This is the pattern I'm using for the Santa.


Thursday, November 13, 2014

Santa doll head

I started tracing the body pattern onto the fabric today.  I'm using the Elf pattern from the book I posted about yesterday.  I made slight modification to the face and ears.  I rounded off the top of the ear and removed the "elf" point.  On the face, I wanted his nose to look more list a cute pug nose so, I made that much smaller.  Other than that, the rest of the pattern is the same for the body.

The pattern with my pencil lines drawn in to shown what changes I made to it.  I also shortened the chin a little


By the way, I have made the elf pattern before without any changes and I love him.  When I pull out my Christmas stuff from storage, I'll get a picture of him for you.

That's about all I did on the doll today.   I'll be pretty busy tomorrow with other things so my plan is to get the head done over the weekend.  I did play around with some strip quilted ATC's.  I did the back rounds in yellow strips and then did a rustic applique flower on top.  I'm  going to be offering those for trade on the trading sites.  The pink ones I posted a week or so ago are all traded except for one.


Wednesday, November 12, 2014

Santa Doll??

I joined a Christmas Doll swap and I think I may make a Santa Doll.  I have a certain image in my head of what I want to do but, don't have a pattern for it.  Some of you may know that I'm a big fan of the doll artist Terese Cato.  What I have decided to do is use a combination of ideas from her book called Fanciful Cloth Dolls and then add some slight modifications to the body.  Most of the changes or original patterns will be in the doll clothes though.

For the hair, I found this Curly Crepe Wool Hair that I think I will use.  I hope it's enough.  I think it will be since he will have a hat on therefore less hair is needed for the head.  Also, the package notes that the hair triples in length so, I should be fine.  Before I actually connect it to the doll, I'll test it to make sure.  So, over the next few entries on my blog, please follow along as I make the doll.  I also highly recommend this book for any artist doll sewer.  I have used it quite a bit and it was well worth the price.

I prefer a strong, good quality muslin for my doll face and bodies.  Also, this is the hair I hope to use

Here is the book I keep talking about.  I just love it.  I've made a version of the cover doll in the past.  She is pictured on my Pinerest account

I made photocopies of the pattern pages and keep them in an envelope after I use them.  The next time I use the pattern, it's ready to go.  

Monday, November 10, 2014

Prima Doll Stamps

I just love the stamps by Julie Nutting and the Prima Dolls Collections.  Here is my latest tag that I did.  This one obviously is for Christmas.  The picture does not pick up the texture of the red dress but, it's a velvet paper that I've had in my "stash" for a long time.  It was just waiting for the perfect thing to use it on.  With these dolls, I stamp the doll on paper first and then color in her skin tones with Copic Markers.  I used E00 and R20 for the tones.  I colored the hair in brown Copic markers. I then cut out the paper doll without worrying to much about the dress lines.

I then stamp just the dress and shoes on the velvet paper.   I cut it out and glued lace to the bottom of the dress.  I finish it off by adding white glitter to the top of the boot, black ribbon for a belt and white glitter paper for the collar.

To decorate the tag, I bought some floral picks from JoAnnes.  I took a picture of the ones I bought.  I dismantled the snowflake and used just one flake (the pick had 3).

Finished Tag

Tag Base made with cardboard covered with scrapbook paper

Doll stamp plus some supplies I used

Here are the picks I bought
I wish the camera picked up the glitter better because it really sparkles.

Wednesday, November 5, 2014

Christmas Pot Holders

I made a few potholder today.  After all, they are always in need and make great presents.  The fronts have a machine embroidery design and the backs are Christmas prints.  They are fairly simple and the only time consuming part is the embroidery but, they are fun to make.


Tuesday, November 4, 2014

ATC cards

Look at these wonderful ATC's that came in my mail today.  It is so nice checking the mailbox and getting happy mail instead of bills and sale flyers.

 I really love trading

Saturday, November 1, 2014


Polymer Clay Angel

I went back to the drawing board i.e. the doll mold and tried another doll.  This time I tried an angel doll.  I still have difficulty pulling it from the mold.  Mostly the feet and hands have issues.  I tried spraying it with water but that made the clay hard to push inside because it did not want to stick at all and then I tried brushing it with corn starch.  I have a little more luck with the corn starch but, for everyone I get out I have 2-3 fails that have to be remolded  Once I pull them out, the hands and feet still tend to get stretch or flattened but, practice only makes you better right???!!

Here is my angel attempt:

Picture of the mold

Doll right out of the mold

Doll trimmed

3
Finished doll front

Finished doll back


I think I might trim her hair some and then call her done.  I actually molded 2 others so, I might take a break and then try to dress those.  I want to come up with different dress options for her

If anyone has an ideas, I welcome that