Since I am already writing about Halloween dolls, I thought I would add another. This one I made for a gift last year and really enjoyed coming up with ideas for her. I was thinking of making one for myself this year. When I do, I'll show you the process. I will probably start around September.
Sunday, July 27, 2014
Witch doll
Since I am already writing about Halloween dolls, I thought I would add another. This one I made for a gift last year and really enjoyed coming up with ideas for her. I was thinking of making one for myself this year. When I do, I'll show you the process. I will probably start around September.
Since I am already writing about Halloween dolls, I thought I would add another. This one I made for a gift last year and really enjoyed coming up with ideas for her. I was thinking of making one for myself this year. When I do, I'll show you the process. I will probably start around September.

Saturday, July 26, 2014
Halloween cone doll
Here is an early Halloween doll project. These little witches are made using the cardboard cones that are in the skeins of Cotton yarn from the craft store. I used acrylic paints for the doll face and body and put in details such as the cat etc. The hair is done using fuzzy fibers which I glued on one end then covered the glued end with the hat. Once the hat was in place, I trimmed up the yarn to shape and fluff the hair. The hat is made with craft felt. If you have access to these types of cones it is a fun doll to make.

Here is an early Halloween doll project. These little witches are made using the cardboard cones that are in the skeins of Cotton yarn from the craft store. I used acrylic paints for the doll face and body and put in details such as the cat etc. The hair is done using fuzzy fibers which I glued on one end then covered the glued end with the hat. Once the hat was in place, I trimmed up the yarn to shape and fluff the hair. The hat is made with craft felt. If you have access to these types of cones it is a fun doll to make.
Wednesday, July 23, 2014

Tuesday, July 22, 2014
Last steps for the Board quilt
Well, I'm down the home stretch now. I made great progress yesterday. The quilting is completed and now I'm doing the binding. I cut 2 inch strips and sewed them down on one side, flipped the quilt and then sewed them on the back side using a decorative stitch. The corners were all mitered for a crisp look.
Tomorrow I will post the finished quilt
Well, I'm down the home stretch now. I made great progress yesterday. The quilting is completed and now I'm doing the binding. I cut 2 inch strips and sewed them down on one side, flipped the quilt and then sewed them on the back side using a decorative stitch. The corners were all mitered for a crisp look.
 |
| sewing down the binding |
 |
| Here is the stitch I used on the binding. I like loopy types so it catches both sides of the binding for a strong hold |
 |
| Mitered corners |
Monday, July 21, 2014
Short Board quilt continued:
I had a busy weekend but was able to finish the columns for the top of the quilt plus, for this particular quilt some of the patches/logos needed to be transferred. Some of the logos were previously on pockets or waistbands so, they could not be used without removing them.
Today, I'm starting the layering process for quilting. Basting spray works great as it helps make for a smooth quilt top. It must be sprayed between all layers and everything is smoothed in place. Once the basting is done, I begin to draw temporary lines for quilting. I use a combination of tools depending on the fabric. For most fabric, a chalking pencil works great. I also like the blue ink pen that washes out when simply wiped with water. The goal today is to finish the basting and have the grid lines in place to start quilting. Overall, I hope to finish in a couple days
 |
| Patches sewn in place - the sashing is actually darker than this but the flash makes it look light |
 |
| Tools for grid lines |
 |
| Picture of the columns sewn in place |
 |
| Picture of the basting spray and the layers in place for spraying. |
Friday, July 18, 2014
Update on the Board Shorts Memory quilt
The quilt continues to progress. I completed a couple more steps. I fused each fabric square with a lightweight fusible interfacing. This gives the squares stability. I choose to do this because some of the materials have stretch to them, some have bias cuts etc. Having the interfacing on the fabric, in this quilt, will help with accurate quilting and help minimize any puckering issues later on. In this series of pictures, you see one of the squares which has bias pieces on them. I fused the back (middle picture) and you can see in the last shot that the puckering is reduced


The quilt continues to progress. I completed a couple more steps. I fused each fabric square with a lightweight fusible interfacing. This gives the squares stability. I choose to do this because some of the materials have stretch to them, some have bias cuts etc. Having the interfacing on the fabric, in this quilt, will help with accurate quilting and help minimize any puckering issues later on. In this series of pictures, you see one of the squares which has bias pieces on them. I fused the back (middle picture) and you can see in the last shot that the puckering is reduced
 |
| hand selfie |
After all the squares were fused, I cut the strips for the sashing which goes around each piece. The sashing measures 1 3/4 inch wide. I then sewed all of the rows together. The next step will be to iron the pieces flat and then add the column sashing. By the next posting, I will have all that done plus, I'll be preshrinking the backing fabric so I can start stacking the layers for quilting.
Yesterday, when I was at the fabric store getting the backing fabric, I got into a conversation with the store clerk about hand dying your own batik fabrics. She explained a little about the process and the wonderful results you can get at home. I'm really tempted to try that but, I had to drag myself away because the last thing I need right now is another craft. Who knows though .... maybe someday.
Thursday, July 17, 2014
Board short memory quilt continued:
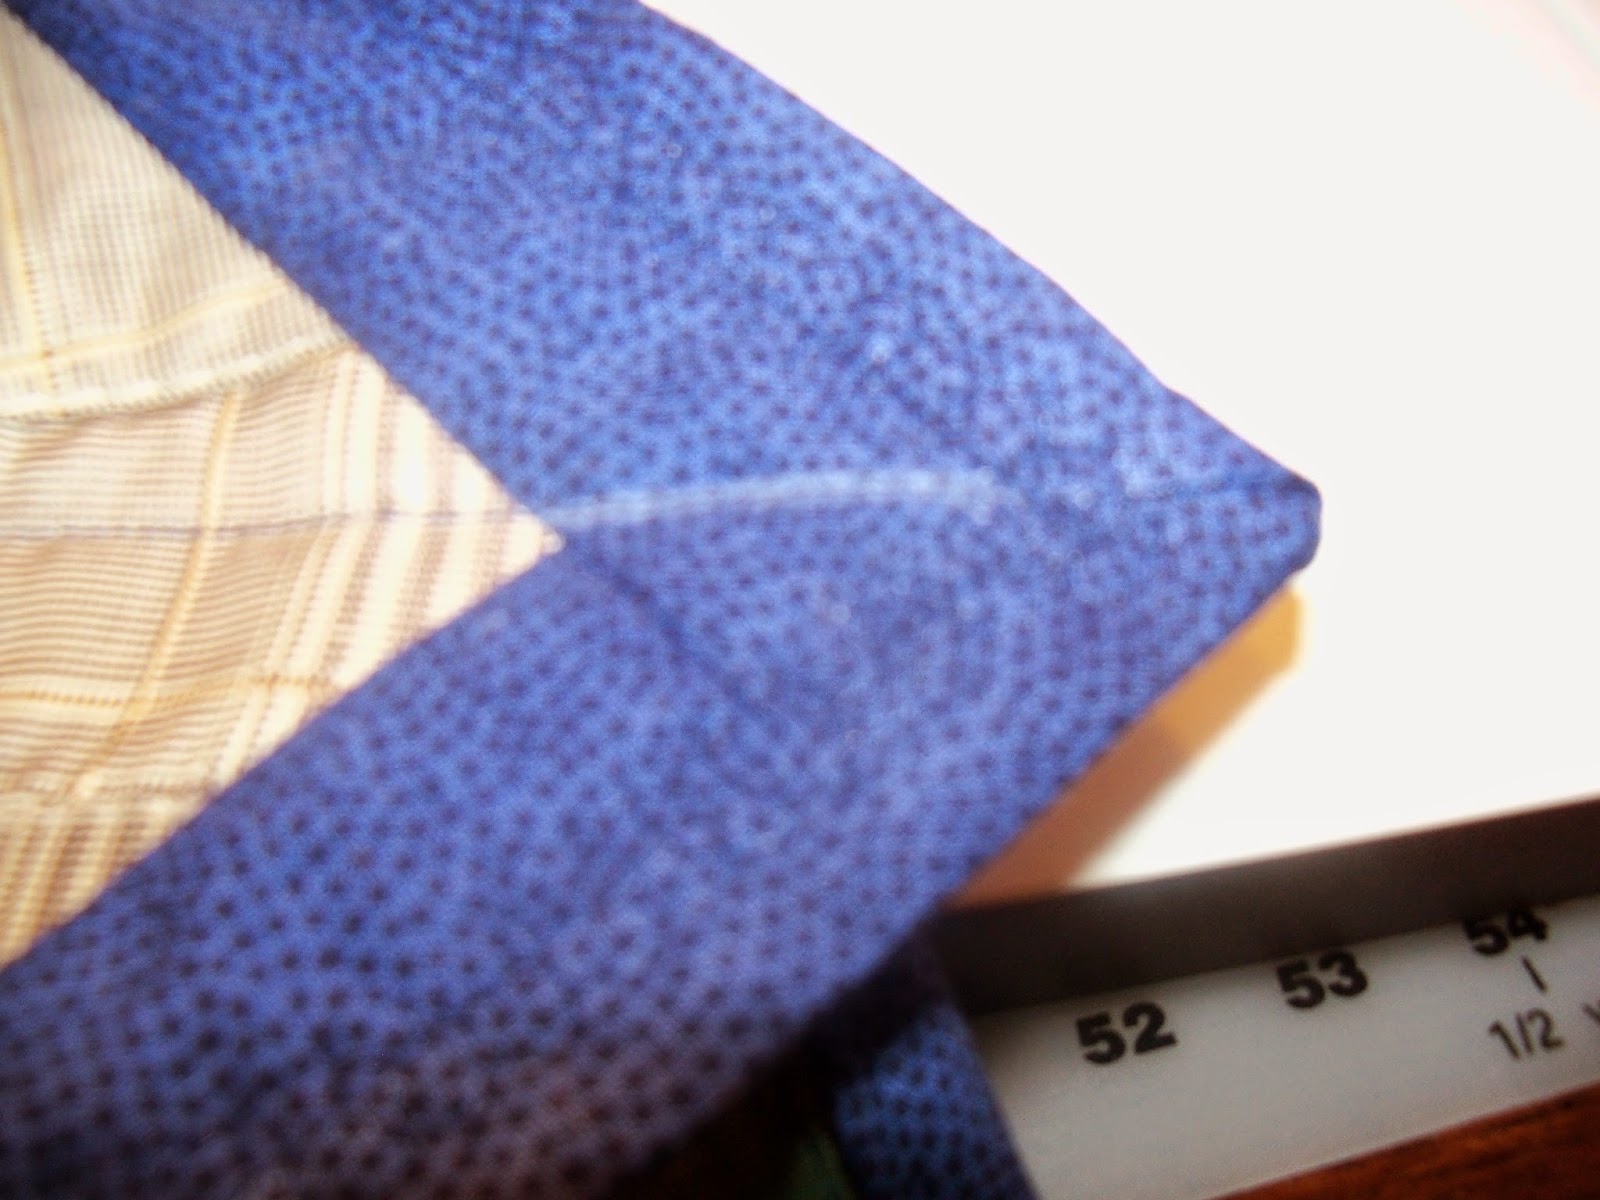
I'm moving along steadily on the Board shorts memory quilt. I deconstructed the garments first and removed zippers, heavy seams, pockets etc. This can be a traumatic phase when you are emotionally connected to the garments! Once I completed this "rough cut", I began to cut my squares. The see through ruler comes in extremely handy because you want to make "fussy" cuts for this type of quilt. The goal is to get the most interesting part of the garment on the square.
I'm moving along steadily on the Board shorts memory quilt. I deconstructed the garments first and removed zippers, heavy seams, pockets etc. This can be a traumatic phase when you are emotionally connected to the garments! Once I completed this "rough cut", I began to cut my squares. The see through ruler comes in extremely handy because you want to make "fussy" cuts for this type of quilt. The goal is to get the most interesting part of the garment on the square.
 |
| Pile of waistbands, zippers etc |
 |
| Using see through ruler to make interesting cuts
I made 10 inch squares. Once the squares were cut, I laid them out to see what type of order looked pleasing. I actually ran out of room on the bed but, I'm going to have one more row than you see in the picture. Once all the seaming is done, it gets a little smaller but, I will be adding sashing between each square. I'm ready for the next step now so tune in tomorrow to see it continue to come together.
 |
Subscribe to:
Posts (Atom)